Last week’s blog was about how I light painted two black pistols. That was challenging, but after I narrowed the light’s angle it was surprisingly easy because that modification gave me the precision needed to realize the old studio lighting maxim: “put light where you want it and don’t put light where you don’t want it”!
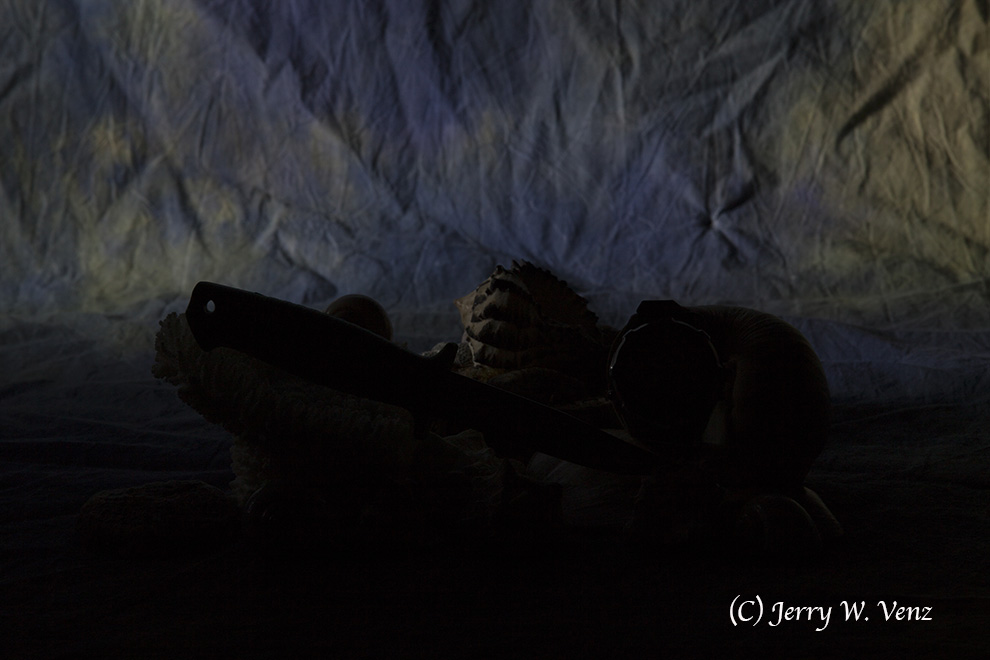
In this studio light paining blog I picked something more difficult—a very reflective knife. It’s a polished, stainless steel, dive knife that I paired with a vintage, stainless steel, Casio diver’s watch. To complete the set-up and enhance the dive theme I added a bunch of sea shells and a piece of white coral. Yeah, it’s complicated and a bit busy and after messing with the composition of all these elements I decided that the knife should be the center of interest because of its size and the powerful color of its handle. I had intended to make the watch the center of interest until I saw that it didn’t have the impact to lead in this set.
Here’s the final edited image….
 |
| f16.0 @ 30 sec., ISO 125; Lens @ 200mm |
How I got the shot:
Lighting: In Part 1 I told you that I had to make a snoot (made of Cinefoil) for my flashlight to reduce the beam size for more accurate placement of highlights on my subjects. Well, because my subjects here are smaller and with all those tiny sea shells needing precise lighting I reduced the size of my snoot’s opening to about pencil size.
Painting: You may be asking, “How did he get the blade of that knife without reflections from the flashlight?” that was my intent from the start—I wanted it to look almost black because I wanted the inscription on that, chrome like, polished blade to really stand out.
So, when painting I swept my flashlight over the top edges of my set pieces (especially on the knife’s handle) without creating any forward angle that would front light the blade. Then I swept the light from each side working on all those shells.
Eliminating blade reflection: You’ve probably heard the term, “angle of incidence equals angle of reflectance”, this just means that if the angle of your light matches your angle of observation you will see a reflection.
Family of Angles: This refers to the Angles of view from a light source that a reflective surface will direct light back into the lens. For a flat surface the family of angles are the same as the lens’ angle of view—but coming back toward the camera.
The Solution: Change your angle of view (lens focal length) so that the cone of light misses the lens. So, I used a longer focal length (200mm) from a greater distance to reduce the family of angles (the cone of light). Now that the light is outside the family of angels light will not reflect back into the lens, thus eliminating direct reflections.
And that give me my dark blade!
The Background: With so many more elements to paint I used up my 30 seconds on my subjects, so I had to do a separate exposure for the background.
 |
|
f16.0 @ 30 se.c, ISO 125; Lens @ 200mm
|
Note on Color: One of the problems when painting with an LED flashlight is that the LED light quality (its color temperature) can vary wildly between manufacturers. This is called its CRI—Color Rendering Index—which ideally should be 100 or 5500°K, the color temperature of daylight. Most LED flashlights are not even close to a CRI of 100 (I often saw a very blue shift in color in my painted set-ups using cheap LED flashlights) and most sellers or manufacturers won’t even tell you in the specs anything about its CRI! When I did find some LED flashlights with color temperatures at 5500°K (CRI100) they were really expensive ($100 to $350) and there was little variety in configuration compared to the cheap LED lights—such as multi-LED wands and such.
My Solution for Color: I simply started doing a custom white balance for each LED light. You just light paint a grey card exactly the same as painting your subject (same exposure) and you’re done.
That’s it for this week. On to something new for next week… “Til then…
If you would like to check out the video I did on Light Painting go to: https://www.youtube.com/watch?v=oPng2IwX6Zg&t=20s
If you would like to check out the video I did on Light Painting go to: https://www.youtube.com/watch?v=oPng2IwX6Zg&t=20s
Author: Jerry W. Venz, PPA Master Photographer, Craftsman
Training Site: http://www.LightAtTheEdge.com
Client Site: http://www.TheStorytellersUsa.com
No comments:
Post a Comment