Home
About
Blog
Contact
Home
About
Blog
Contact
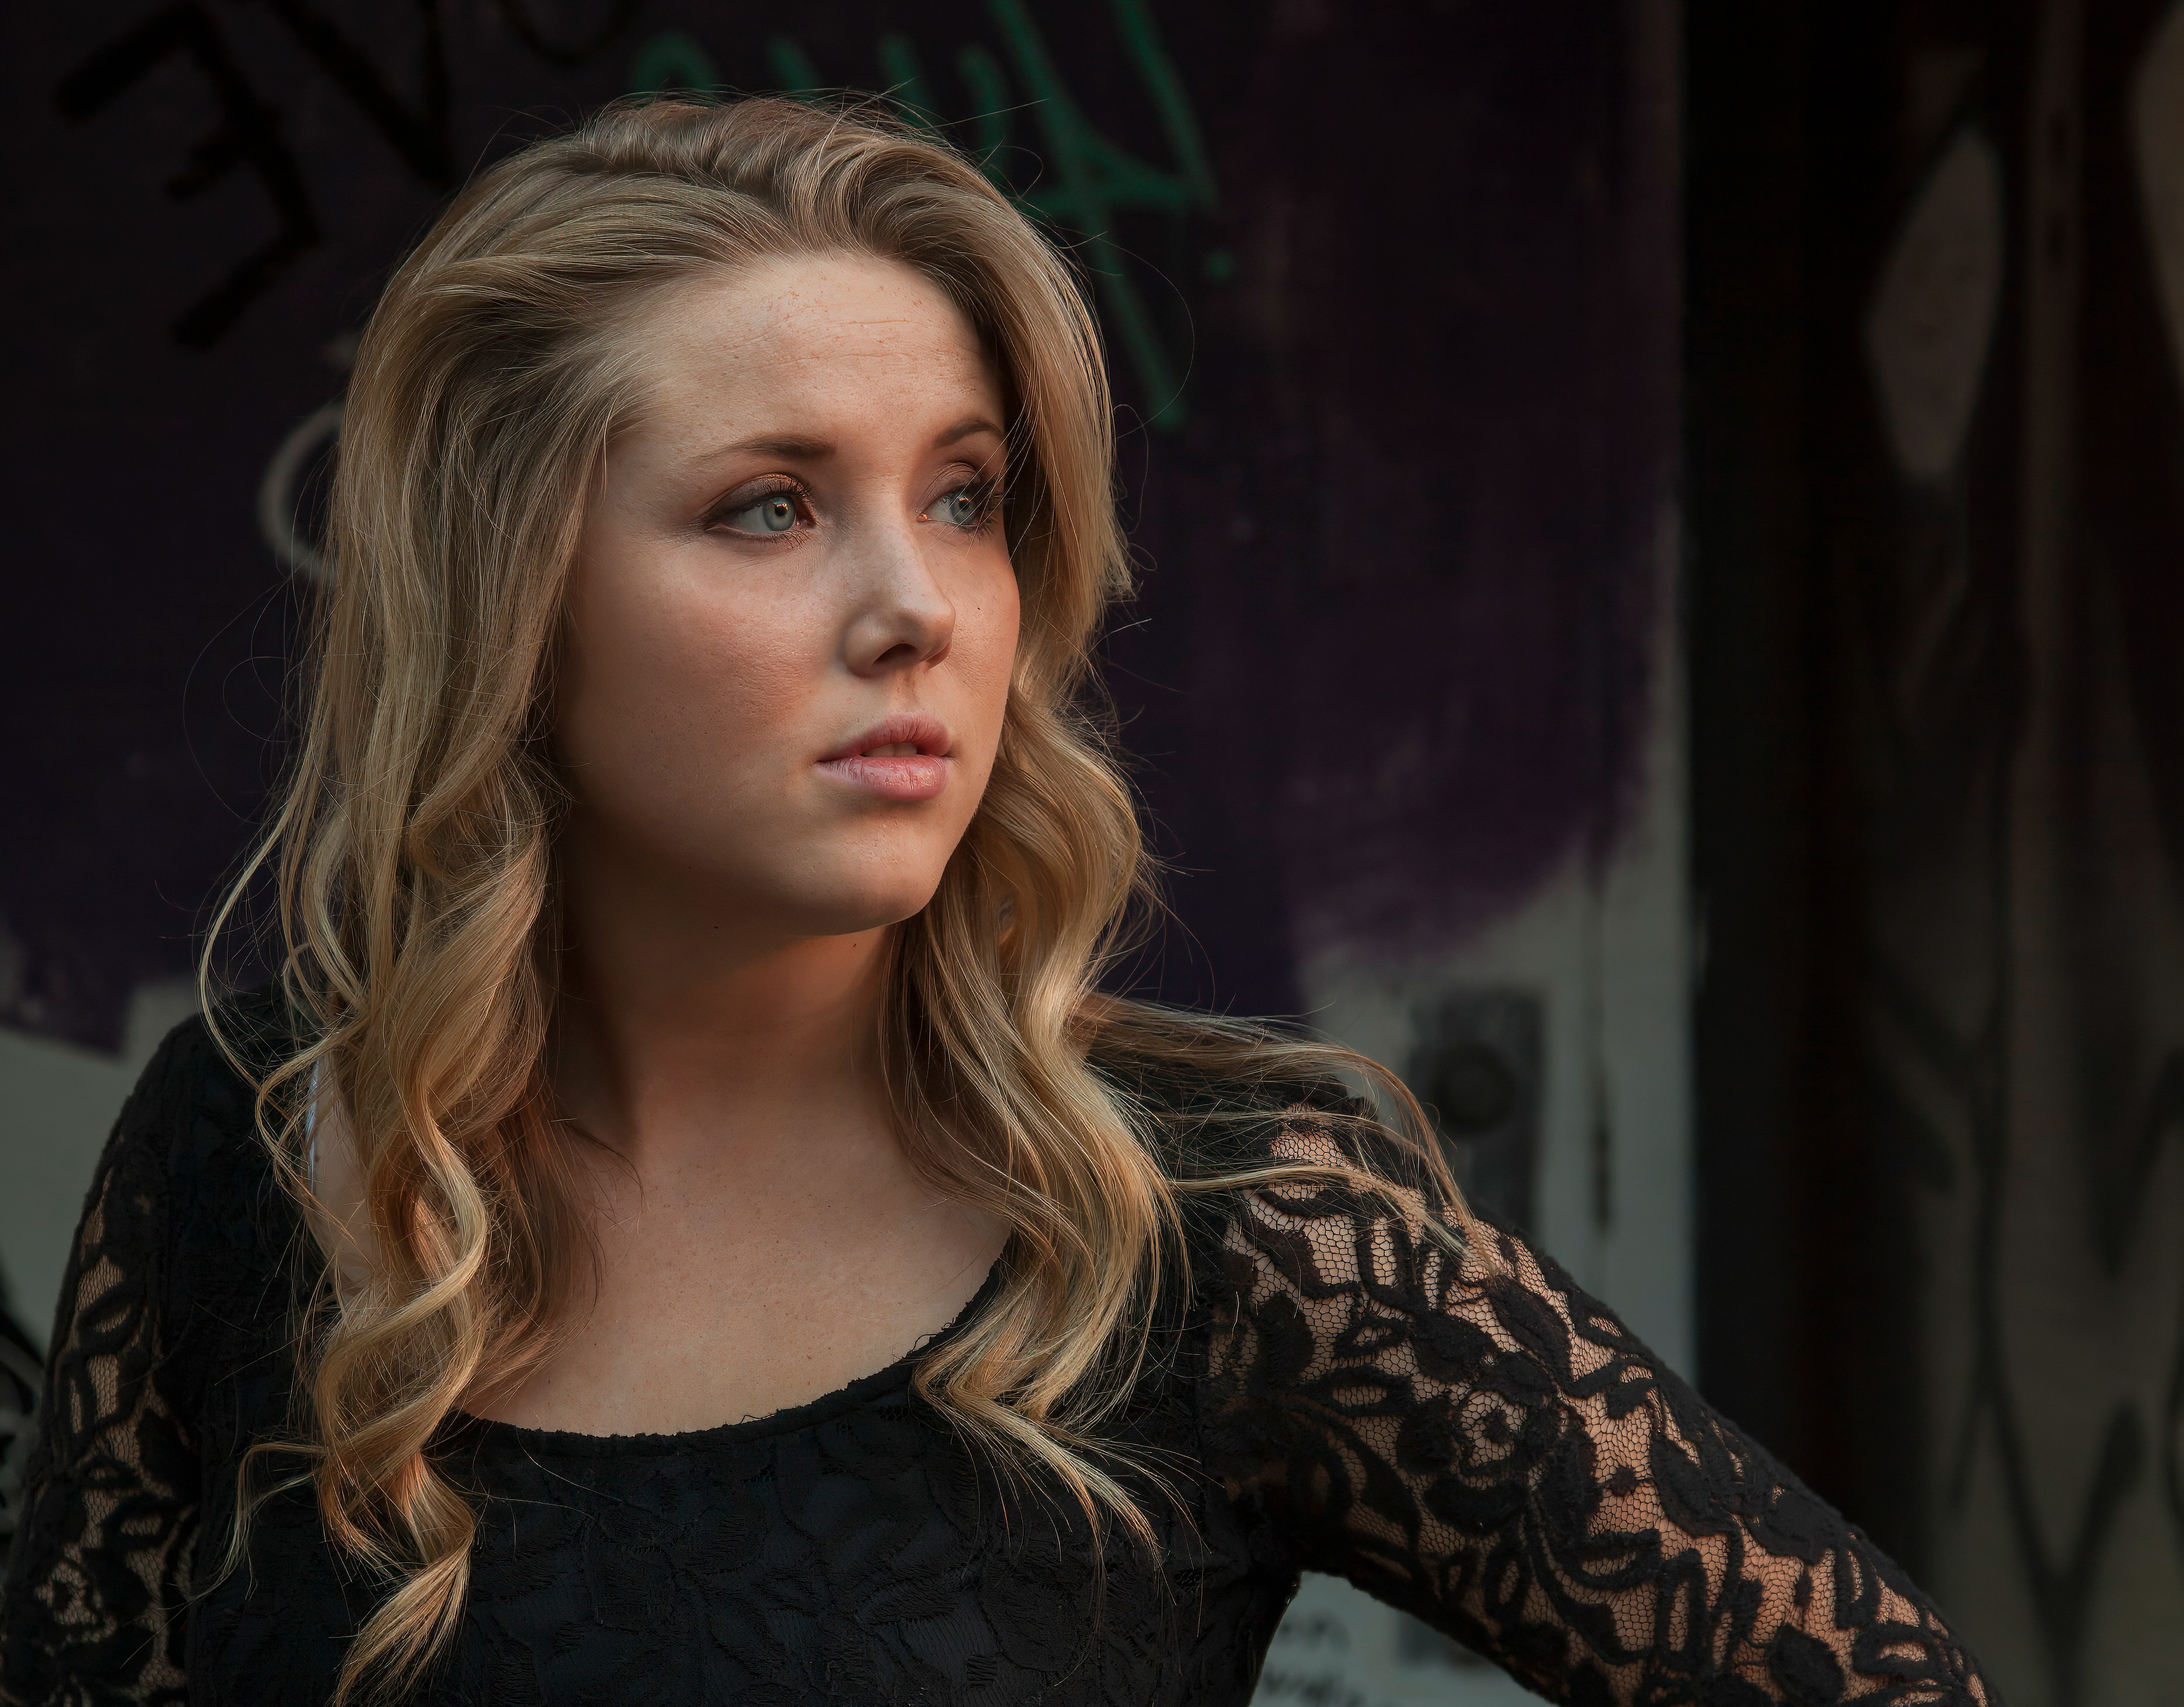
Sculpt With Shadow
Subtractive
Environmental
Studio
Gallery
↑
Back to Top
This site uses cookies for Google Analytics.
Accept
Decline